How to import tree data into OSM?
Want to add one or more trees on OSM but you do not know how? We realized this tutorial to guide you step by step. It'll just follow the steps and practice. To get started, go to www.openstreetmap.org and create an account. It's free, it only takes 2 minutes 😊
Identifying the territory to be mapped
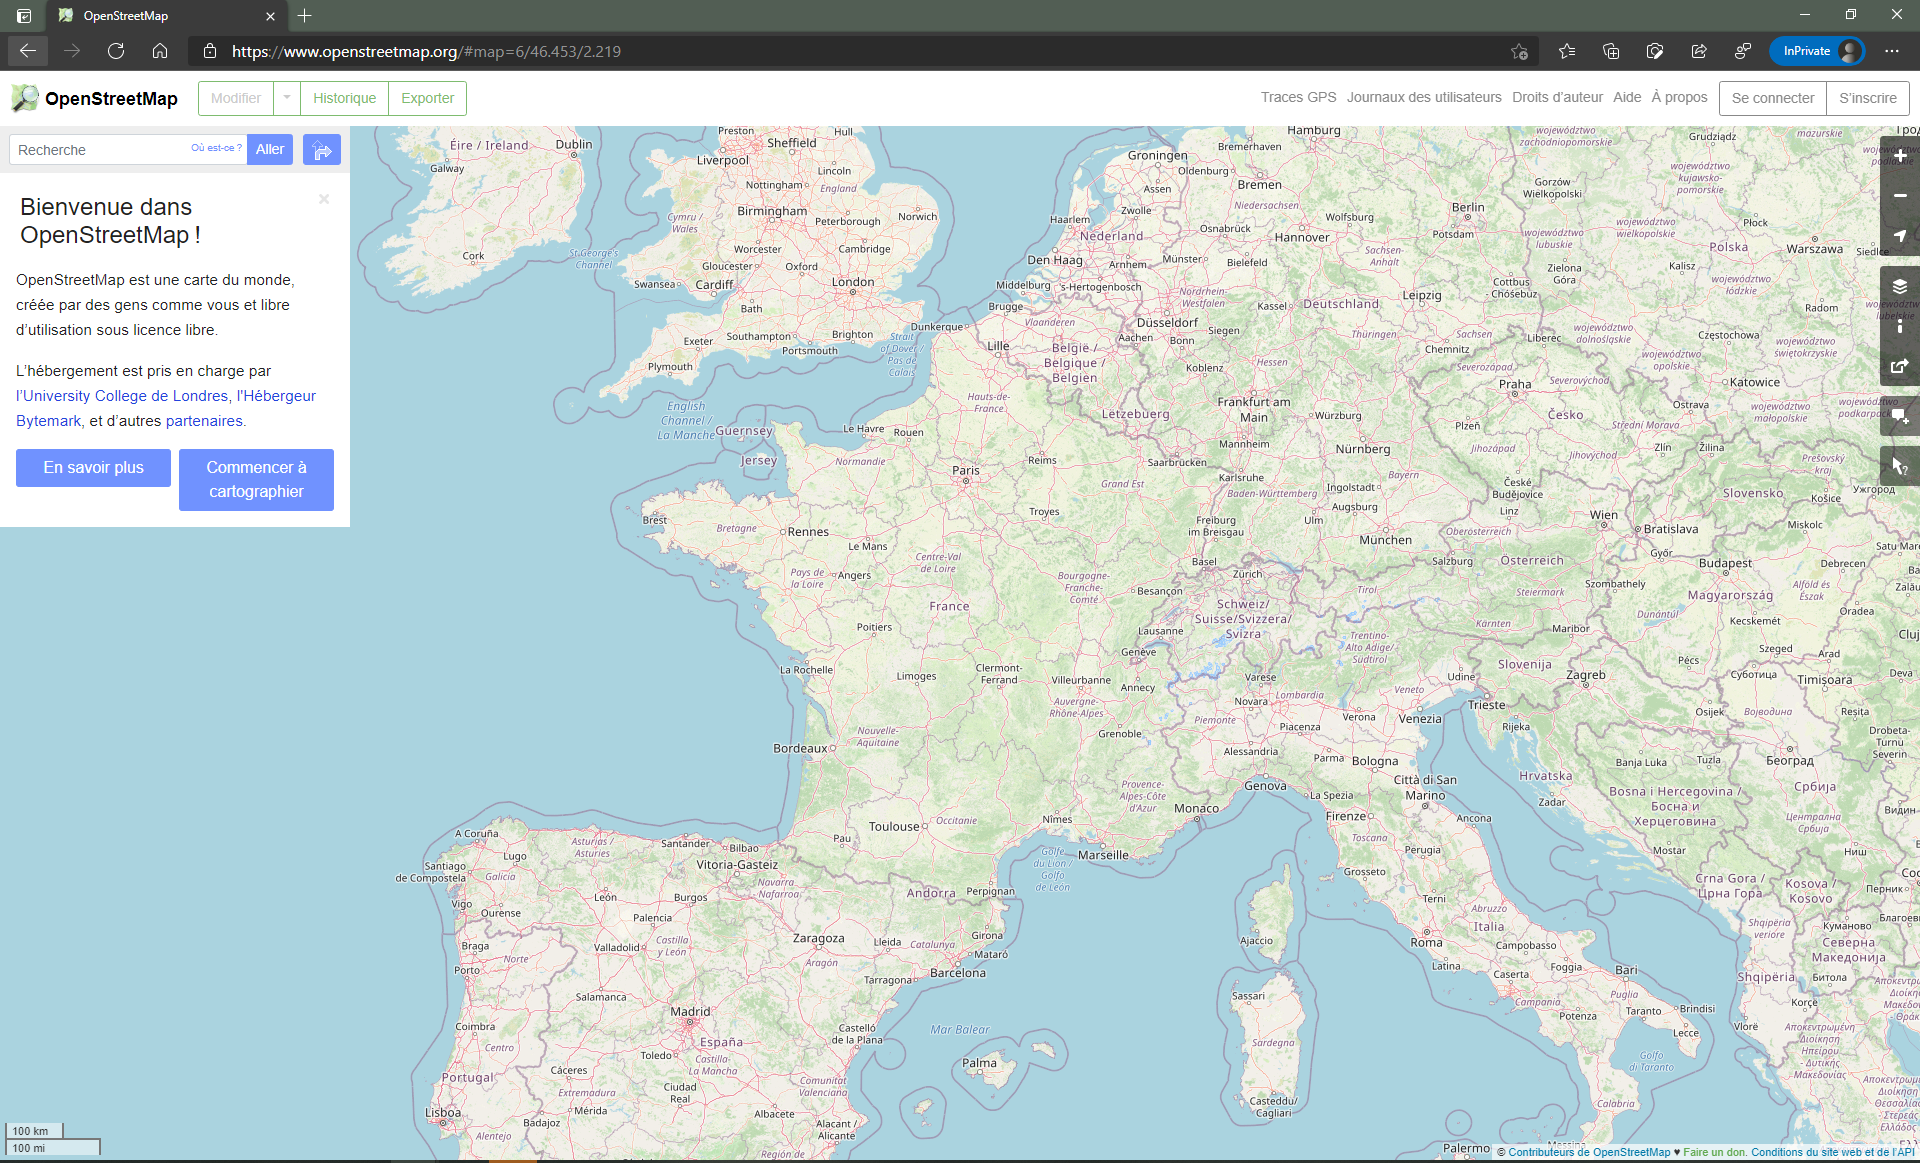
Click on "Start mapping" and enter the area of your choice in the search bar; for this example, we will choose La Ciotat. Launch the search process and click on the correct result : "City of La Ciotat, Marseille, Bouches-du-Rhône, Provence-Alpes-Côte d'Azur, Metropolitan France, 13600, France". OpenStreetMap displays the city borders marked with a red line.

Zoom in on the area to be mapped, with your mouse wheel or the keyboard + / - keys, and go to the south coast of La Ciotat, then click on "Edit" at the top left of your screen! You will have a closer satellite view including all the elements already mapped by the other contributors. Why not try adding a tree to begin?

Creating a new point for your tree
Drag your mouse on the screen to move the map (or use the arrows on your keyboard), zoom in for more details and look for an unlisted tree: with OpenStreetMap, a tree is an element represented by a point.

Click on "Point" at the top of your screen or type 1 on your keyboard, then click on the tree to be mapped. On the left, type "tree" in the search field, click on it: the editor appears. The upper part of the editor displays the type of element, in the middle we have the descriptive fields of the tree such as its type of leaves, its phenology, its height, the diameter of its trunk... and at the bottom, all the tree’s attributes, including the first which is already filled out: “natural = tree” which defines the tree status. The interdependences at the bottom don’t apply to trees, but rather to fictitious boundaries of defined areas.
Describing your tree with attributes
You can add lots of attributes to your tree such as its vernacular name, its Latin name, its plantation date, its health, its lighting, its watering, the soil description...
Click here to see our complete tree schema: in the “fields” paragraph, each label next to “name” represents a tree’s characteristic. The more relevant it is, the better it will be! 😉
Let's go back to OSM...
Click on the little down arrow to see if the attribute you want to add does not already exist, in which case select the already existing attribute, if not, create a new clear and concise one that matches the tree’s characteristic in question.
You can of course click on any existing tree to see its description if it has been filled out and be inspired by similar trees’ descriptions, or search the Web to find information on the tree you saw.
Here is an example of a correctly described umbrella pine:

Copy trees that share same characteristics
If you encounter a series of trees that belong to the same species and which have exactly the same properties each other, you can, to avoid having to repeat the same action several times, copy the tree to be duplicated with Ctrl + C and paste it with Ctrl + V while clicking on the place where you want to paste your tree.
Demarcating wooded areas
You can also add vegatation patches, when no census has been carried out. To do this, click on "Surface" at the top of the screen and start placing the starting point of your figure. You can add as many points as you want, keeping in mind that the shape of the polygon has to perfectly match the edges of the vegetation patch. Then click on "Natural features" and select the extent of trees that corresponds to what you have just delimited.

It's your turn! 🌳
This might interest you
To support tree managers and help them make the best choices in terms of species to adopt in their territory, we are developing ecoTeka. A tool for inventorying and managing tree heritage to support municipalities in order to better understand and manage their tree heritage.
Want to learn more about ecoTeka?